How to Position a Dental Chair Best Practices for 2026?

Time:2026-09-20 Author:Sophia
0%

Dental Chair Positioning Best Practices begin with one practical question: Can the clinician see, reach, and work without twisting? A dental chair is more than a patient platform. Its height, backrest angle, headrest, and rotation affect visibility, access, comfort, and treatment efficiency. The World Health Organization’s Global Oral Health Status Report 2022 estimates that nearly 3.5 billion people live with oral diseases. This pressure makes reliable clinical ergonomics increasingly important.

Dr. Bethany Valachi, a dental ergonomics educator and physical therapist, emphasizes, “Neutral posture is the foundation of injury prevention.” Her message applies directly to chair positioning. The operator should keep the shoulders relaxed, elbows close, and spine supported. The patient’s mouth should move toward the clinician’s visual field, not force the clinician to lean forward. Small adjustments matter. A two-centimeter height change can reduce wrist extension during delicate procedures.

Reports from the National Institute for Occupational Safety and Health identify awkward postures and repetitive movements as major contributors to work-related musculoskeletal disorders. Dental teams should therefore assess chair positioning before treatment begins. Raise the chair for direct vision. Recline the backrest gradually. Place the headrest beneath the occiput, then confirm patient comfort. Avoid pressing the patient’s shoulders against the upholstery.

No setup works perfectly.

A chair may look correctly positioned and still create fatigue. Operator height, procedure type, lighting, loupes, and patient anatomy change the result. This article examines practical positioning methods for 2026, supported by ergonomic evidence and clinical experience. It also questions common habits, because “comfortable enough” is not always clinically sustainable.
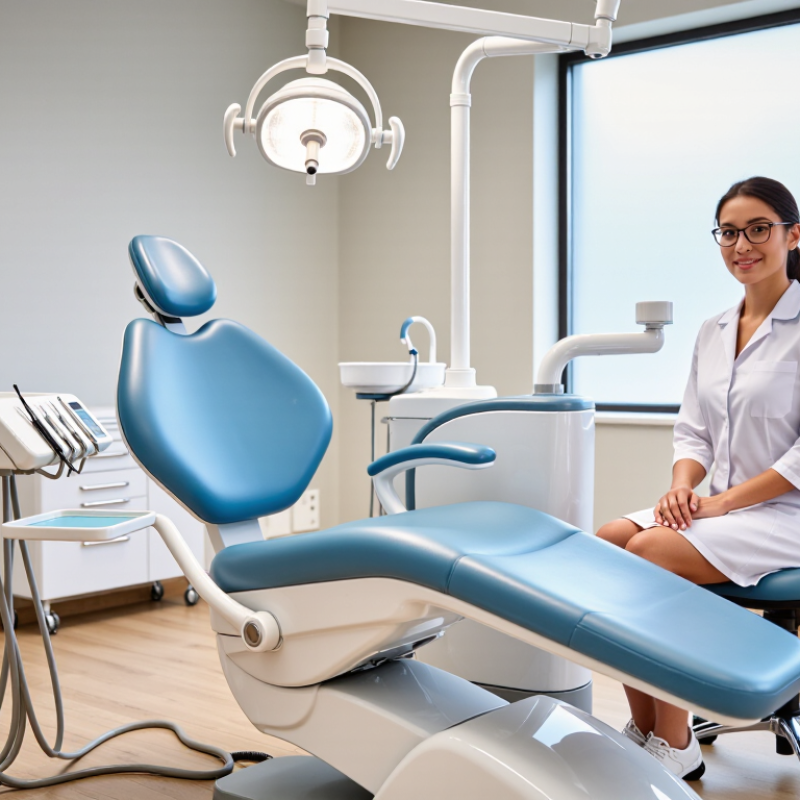
How to Position a Dental Chair Best Practices for 2026?

Survey the Room Against ADA’s 30×48-Inch Clear-Floor Standard

How to Position a Dental Chair: Best Practices for 2026

Start by surveying the room against the ADA’s 30-by-48-inch clear-floor standard. This space supports a wheelchair approach beside the dental chair. Treat it as a planning benchmark, not the only requirement. Local accessibility rules may add different measurements. Measure from finished walls, cabinets, and equipment bases. Do not count blocked areas beneath fixed storage. The clearance must remain usable.

Place removable items outside this rectangle. That includes stools, mobile carts, foot controls, and waste containers. Check the space with the chair upright and fully reclined. Hoses can cross a path unexpectedly. So can a low cabinet door. Mark the proposed footprint with tape. Then test a wheelchair approach and caregiver position. Keep the doorway swing from cutting into the clear floor area. A few inches can change the room’s usability.

The first layout is rarely perfect. A drawing may show clearance, yet the real room feels crowded. Recheck measurements after installing cabinetry and utilities. Ask an accessibility professional to review unusual layouts or renovation plans. Document the measured distances and the chair positions tested. This creates a reliable record for future staff and inspections. Small oversights deserve attention. A clean 30-by-48-inch rectangle is only the beginning.

Place the Chair for 9–12 O’Clock Four-Handed Dentistry (FDI)

How to Position a Dental Chair Best Practices for 2026?

For four-handed dentistry, position the chair around the 9–12 o’clock working arc. This clock reference uses the patient’s head as the center. At 9 o’clock, the operator works beside the patient’s shoulder. At 12 o’clock, the operator works behind the patient’s head. These positions support clear visibility of the oral cavity and reduce unnecessary torso rotation.

Keep the patient’s mouth near the operator’s elbow height. A slight chin adjustment can improve access without forcing neck extension. Tilt the backrest enough to support the operator’s line of sight, but avoid placing the patient completely flat for every procedure. Small changes matter. The assistant should remain within a comfortable transfer zone, usually near 2–4 o’clock, while instruments move smoothly across the patient’s chest area. Avoid reaching over the patient’s face.

FDI tooth notation helps the whole team communicate accurately, especially when the operator, assistant, and records use the same system. For example, a request for tooth 11 should match the intended clinical site, not just a vague pointing gesture.

I have found that the “perfect” chair position often changes during treatment. Posterior access may need more rotation, while anterior work may need less. Check the patient’s breathing, shoulders, and comfort before adjusting again. Measure twice. Even experienced teams can overlook a twisted wrist or a lamp positioned just outside the assistant’s view.

Keep High-Use Instruments Within an 18-Inch Reach Zone (NIOSH)

How to Position a Dental Chair: Best Practices for 2026

Keep high-use instruments within an 18-inch reach zone, using this as a practical NIOSH-informed ergonomic benchmark. Measure from the clinician’s seated working position, not from the chair’s center. Place the air-water syringe, handpieces, suction controls, and curing light close to the dominant working side. A neutral elbow angle matters. So does clear visibility.

Before treatment, adjust the chair height until the patient’s mouth aligns with your relaxed forearm position. Keep frequently used instruments between the shoulder and waist whenever possible. Avoid placing trays behind the clinician. Reaching backward often creates shoulder rotation and awkward wrist movement. I have seen small positioning errors become persistent neck pain after busy clinical sessions. A few inches matter.

The assistant’s instruments also need an 18-inch zone. Coordinate the delivery area with both working positions, especially during four-handed procedures. Tubing should move freely without crossing the patient’s chest or the clinician’s knees. Test the setup with a simulated examination. Try it with gloves on. That detail is easy to miss. The 18-inch rule is helpful, but it cannot fit every clinician, patient, or operatory perfectly. Reassess it for left-handed users, shorter clinicians, and procedures requiring unusual access. My own layouts have needed adjustment after real patient positioning exposed blind spots.

Preserve a 32-Inch Accessible Door Opening Under ADA 2010

When positioning a dental chair in 2026, protect the doorway before optimizing operator comfort. Under ADA 2010, an accessible door opening requires at least 32 inches of clear width. Measure between the door face and stop with the door open 90 degrees. Do not measure the frame alone. A chair may appear distant from the entrance yet still obstruct the usable opening. Use a tape measure, then test the route with a wheelchair-sized clearance template. Real movement reveals problems quickly.

Place the chair so its widest components do not project into the doorway. Check the upright, reclined, and rotated positions. Headrests, foot controls, delivery arms, and mobile stools can reduce clearance unexpectedly.

Keep carts and waste containers away from the approach side. Leave the door able to open fully without striking the chair. Small adjustments matter. A few inches can prevent a difficult entry.

Review the layout with clinical staff and, when possible, someone who uses mobility equipment. Ask them to approach, turn, and pass through naturally. I have seen drawings satisfy a ruler test but fail during actual movement. That gap deserves attention. Confirm door hardware, thresholds, and nearby corridors with a qualified accessibility professional. State and local requirements may add details beyond the federal baseline. Recheck the opening after installation, because equipment rarely stays exactly where the plan placed it.

Confirm 20-Second Handpiece Flush Access Under CDC Guidance

How to Position a Dental Chair: Best Practices for 2026

Confirm 20-Second Handpiece Flush Access Under CDC Guidance

Dental chair positioning should support infection-control routines, not only patient comfort. CDC guidance recommends flushing handpiece and air-water lines for 20 to 30 seconds between patients. The control must be reachable without leaning across the patient or touching nearby surfaces. Place the chair so the operator can activate the flush from a clean, stable position. Keep the drain visible. Watch the water flow.

Use a timer, wall clock, or clearly visible second hand. Twenty seconds can feel surprisingly long during a busy appointment. A chair may look well positioned yet fail this practical test. Ask a dental assistant to simulate turnover while another person observes reach, tubing movement, and splash direction. Small obstacles matter. Cabinets, foot controls, and extended instrument arms can interrupt access.

Review the setup during different chair positions, including reclined and upright settings. Confirm that flushing does not require unsafe stretching or contact with contaminated controls. Follow the current CDC recommendations, occupational procedures, and equipment instructions. Local protocols may require additional measures. A written check can improve consistency, although it may become outdated. Reassess it after renovations, equipment changes, or workflow complaints. Good positioning is not permanent. It needs testing in real conditions.

How to Position a Dental Chair: 20-Second Handpiece Flush Access Under CDC Guidance

The dental chair and delivery system should be positioned so the operator can easily reach and activate the handpiece and air/water controls. CDC guidance recommends flushing handpieces and air/water lines for 20–30 seconds between patients. Always follow the device manufacturer’s instructions and complete heat sterilization of reusable handpieces as required.

FAQS

What clear floor space should be planned beside a dental chair?

Plan a usable 30-by-48-inch clear-floor rectangle beside the chair. Measure from finished walls, cabinets, and equipment bases. Do not count blocked space beneath fixed storage. Local accessibility rules may require different dimensions.

Which items should stay outside the clear-floor area?

Move stools, mobile carts, foot controls, and waste containers away from the rectangle. Keep hoses from crossing the wheelchair approach. Low cabinet doors can also reduce usable space. Small details matter.

How can the layout be tested before installation?

Mark the proposed chair footprint with tape. Test the route with the chair upright and fully reclined. Try a wheelchair approach and caregiver position. A drawing can lie.

Where should the chair sit for four-handed dentistry?

Position the chair around the 9–12 o’clock working arc. The patient’s head acts as the clock center. The assistant usually works near the 2–4 o’clock zone. This arrangement can reduce torso twisting.

How should patient comfort affect chair positioning?

Keep the patient’s mouth near the operator’s elbow height. Adjust the chin and backrest gradually. Avoid placing every patient completely flat. Check breathing, shoulder tension, and comfort before adjusting again.

Why might the chair position change during treatment?

Posterior teeth may need more chair rotation. Anterior treatment may need less. The ideal position is not always fixed. A twisted wrist or hidden lamp can reveal a poor adjustment.

What doorway clearance should be protected?

Maintain at least a 32-inch clear door opening where the applicable accessibility standard requires it. Measure between the door face and stop at 90 degrees. Do not measure the frame alone. Use a wheelchair-sized clearance template when possible.

Which chair parts can obstruct the doorway?

Check headrests, foot controls, delivery arms, mobile stools, and the chair base. Test the upright, reclined, and rotated positions. Confirm that the door opens fully without striking equipment. Recheck after installation.

Conclusion

Dental Chair Positioning Best Practices begin with a careful survey of the operatory. Position the chair so a clear floor area of approximately 30 by 48 inches is maintained, supporting safe movement around the patient and clinical team. For efficient four-handed dentistry, align the chair with the operator’s working zones, especially the 9–12 o’clock positions, while keeping frequently used instruments within an ergonomic 18-inch reach zone to reduce unnecessary stretching and twisting.

The layout should also preserve an accessible doorway opening of at least 32 inches, supporting smooth entry and exit. Before finalizing the arrangement, confirm that the handpiece and related equipment can be reached easily for a complete 20-second flush in accordance with infection-control guidance. Combining accessibility, ergonomic reach, team positioning, and maintenance access creates a safer, more efficient, and adaptable dental operatory for 2026.

Sophia

Sophia

Sophia is a dedicated marketing professional with an exceptional depth of knowledge about her company's products and services. With a keen understanding of market trends and customer needs, she crafts insightful blog posts that not only inform but also engage readers, enriching the company’s online......